
About 80m2
Because a lot of people have been asking me about it, i wanted to tell you a bit more about the process of making the visualizations for the 80m2 project.
Modeling
The whole basis of this scene, walls, floors, ceiling, were made on a basis of a CAD file. Wooden floor was made thanks to the great Floor Generator script by CG-Source.
Cg-Source Floor Generator settings
As for the furniture models some were made by me, some are free models downloaded from the web, but i think that a big thanks here should go to Viz-People for their free Moroso Smock chair.
Moroso armchair model by Viz-People
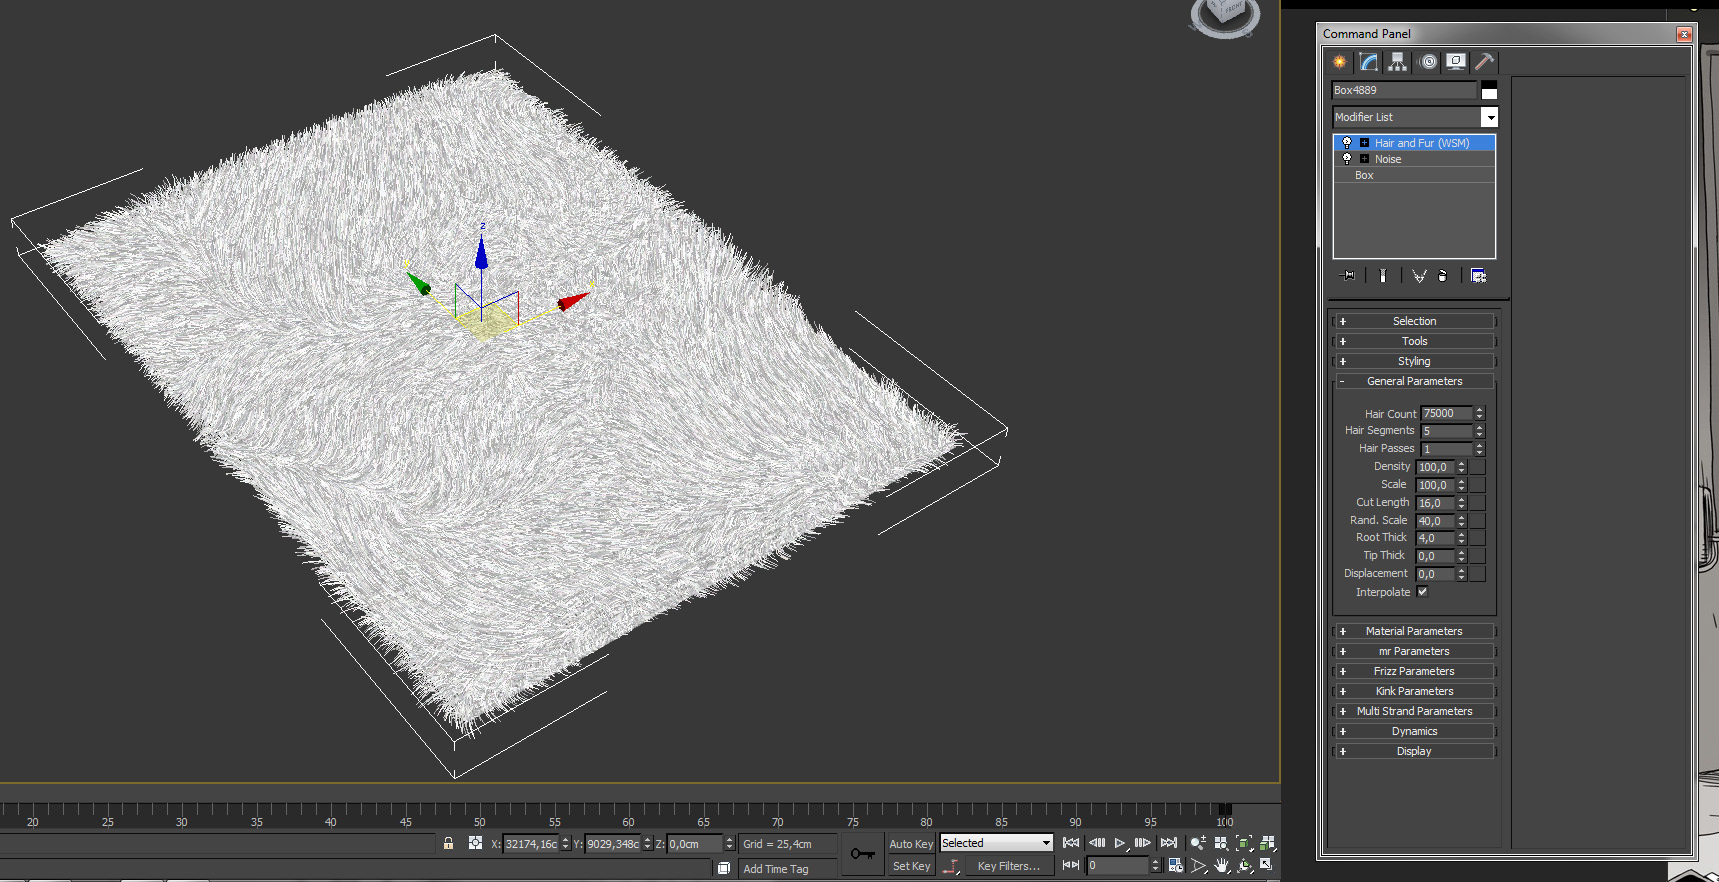
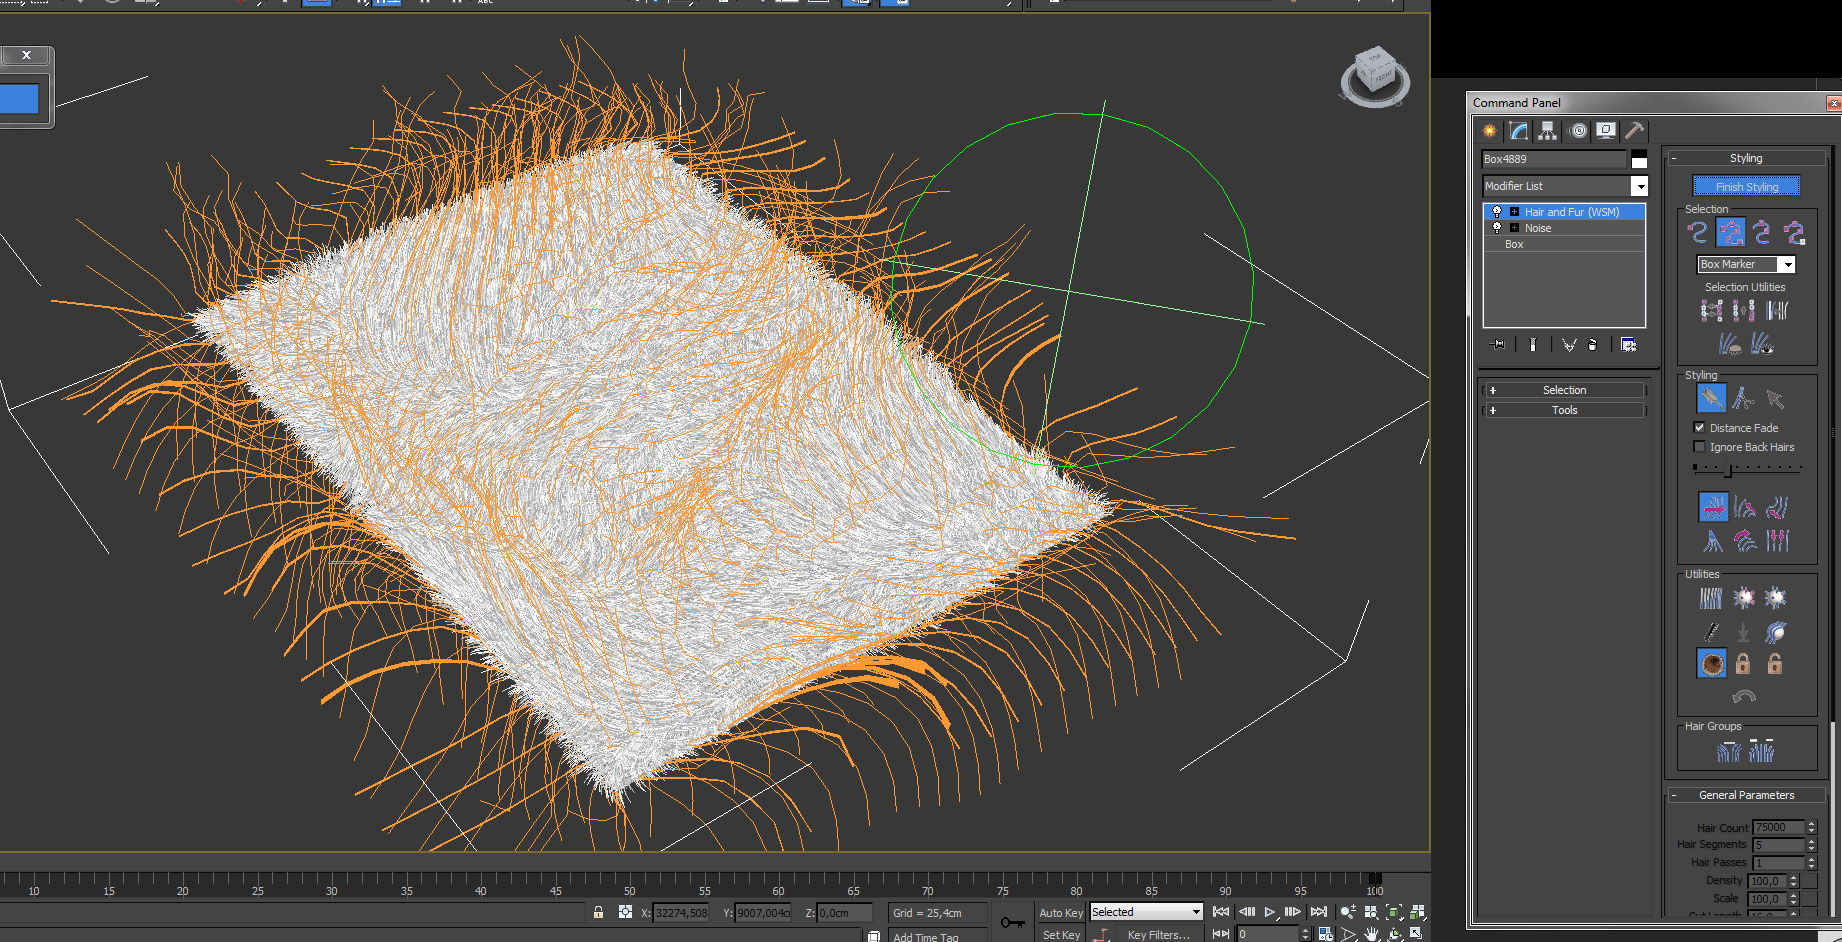
The carpet in the livingroom was created using 3ds max built-in Hair&Fur modifier. After applying the modifiar to a box with chamfered top edges and Noise modifier, Hair&Fur needed a bit of styling, and i think that it is the best part about h&f, so i highly encourage you to use it.
Light
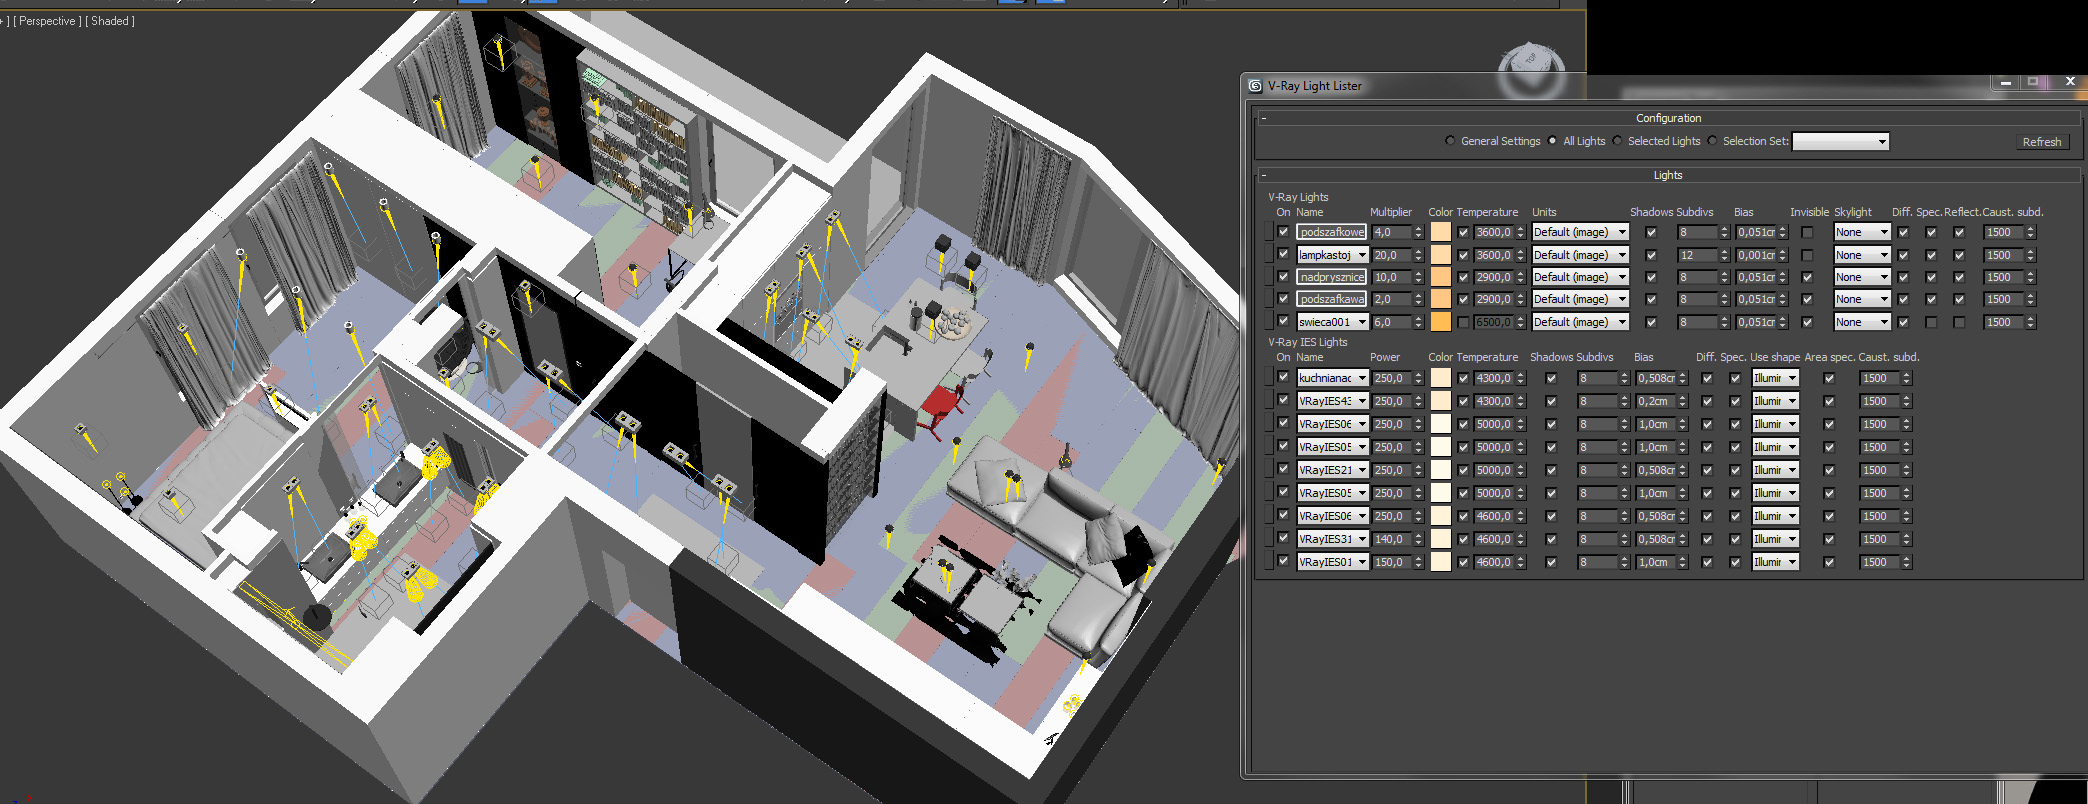
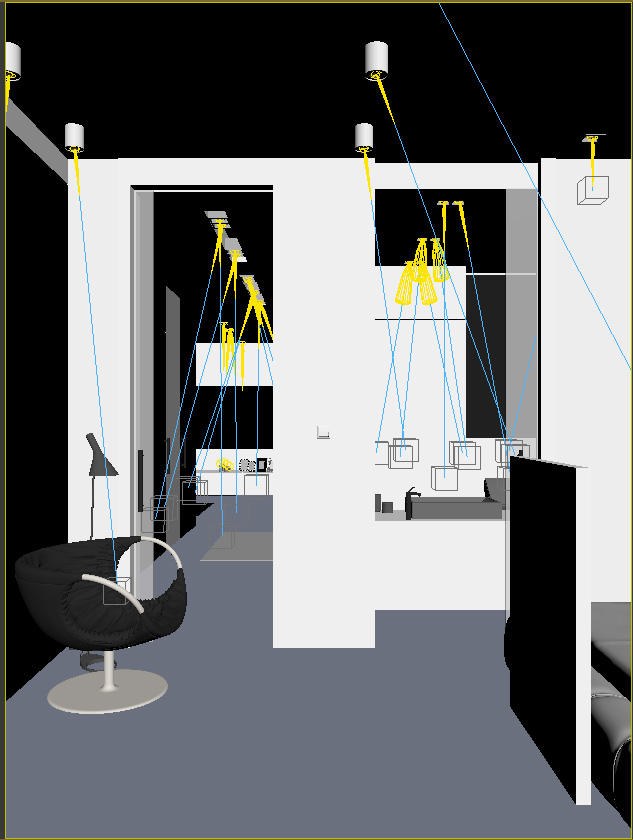
The whole scene was lit with IES lights. A couple of VrayLights were used for the finishes, but they did not have a significant meaning to the scene. The IES light files were, i think, once uploaded by a user on the Evermotion forum, but you can also download exactly the IES used in this scene from this link:
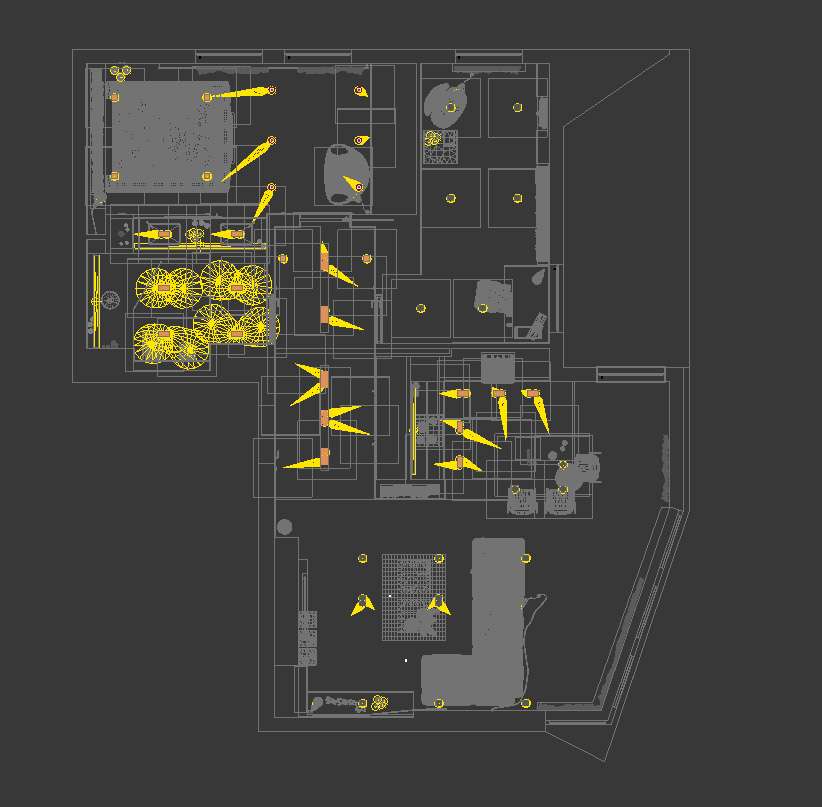
Below you can see a couple of views showing how the light was set up.
Rendering
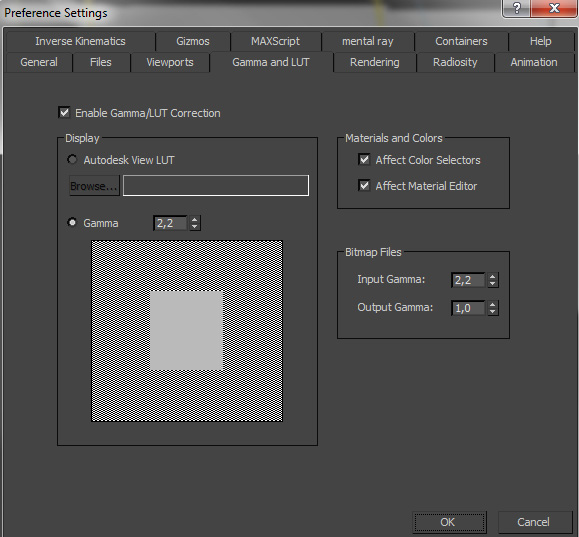
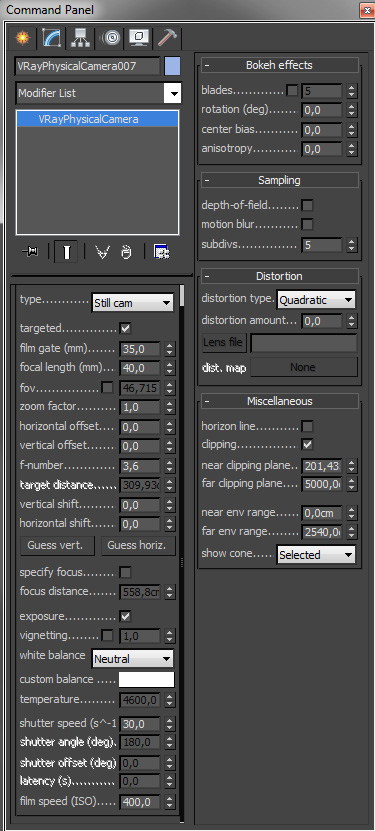
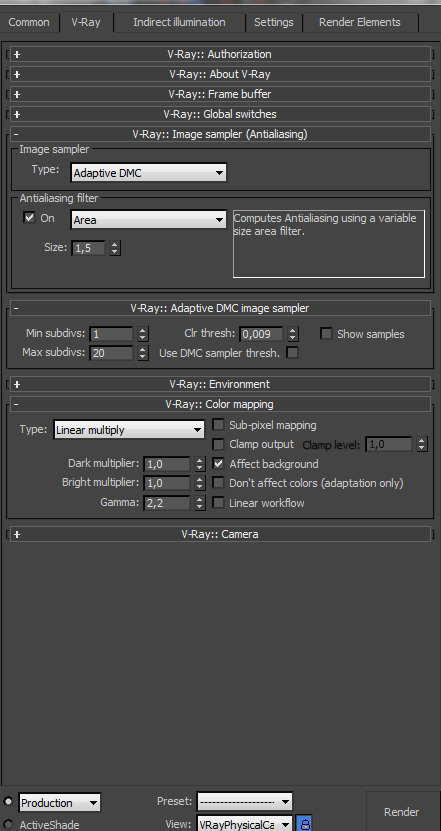
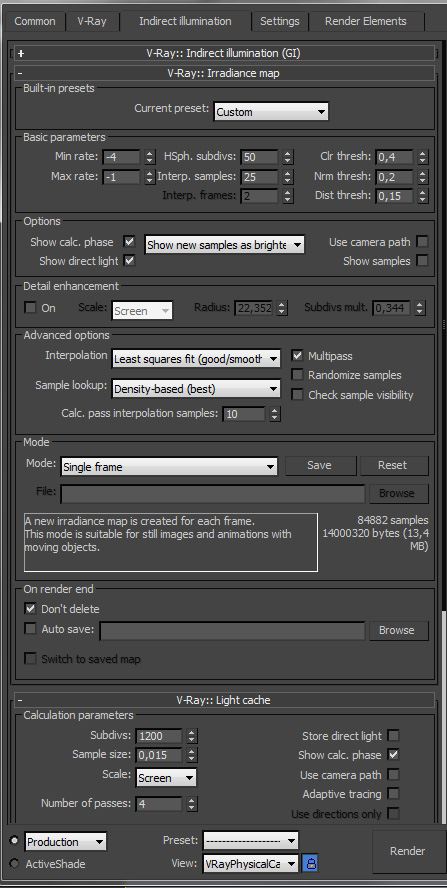
My render setup is pretty basic for all scenes i create. I always use the linear workflow (LWF) and Irradiance map + Light cache for rendering.
Postproduction
This time i did not use much of Photoshop in these images, just the basics, which i gathered in a quick breakdown you can see below: